nuis - cotton doll
fellow honest - disney's twisted wonderland
This isn't a tutorial, as much as it is me documenting my drafting process. I'm assuming you have some basics with either sewing terms or you're willing to use google.
My goals for this was:
Clothes can come after... I'm not as good with clothes.
I followed this tutorial (it's in Japanese, but it's clear as to the steps you take.)


Then I copied the tape pattern to a sheet of paper, took the measurements. Then I took a photo on my phone and used clip studio paint to make a cleaned up pattern! (I just used the symmetry ruler).


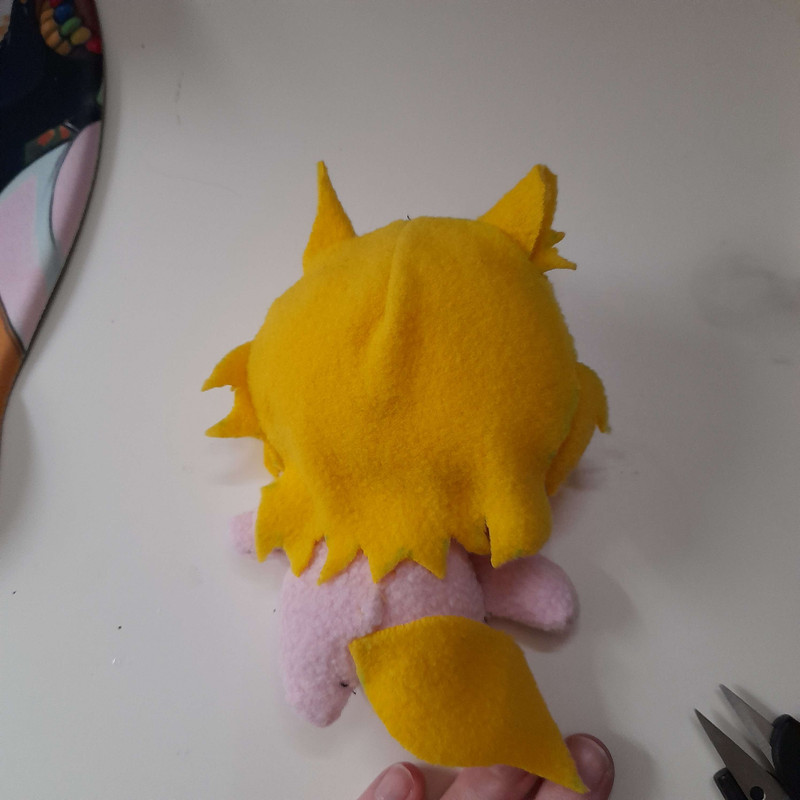
Then it was time to test!! He's pretty close to want I want, so it's only some small tweaks from here.
There was several issues:
I followed this youtube tutorial about plush ears.
version 2!

I added about 1/2cm seam allowance to this pattern. I could’ve went up to 1cm, but since this doll is roughly 10cm, it would add a lot of bulk... The trials of nuis...
-Need to add 1/2 centimetre to each back piece...
-Debating making the tail fluffy.
sewing guide (this video was referenced to get the order)
1. embroider the face
2. sew ears together
3. sew all the front face parts together
4. sew the sides of the back to the front, including side hair and ears
5. sew the two back head pieces together
6. sew the darts
7. sew back hair piece
8. sew the two back body pieces together
9. sew back arms
9a. add notches
10. add front arms to front body piece
11. sew the back body to the front body piece
12. sew/glue tail
13. turn inside out
14. stuff all pieces
I MADE MANY SEWING MISTAKES!!! this is why you prototype : )


